Introduction
Since you will be performing both a rolling and blue-green deployment in this lab, it makes sense to use the best tool AWS makes available for the job. For controlled deployments and efficient deployment services of code on EC2 instances, AWS Elastic Beanstalk provides a superior interaction model and developer tools experience.
In this lab step, you will create an AWS Elastic Beanstalk application.
Instructions:
- In the AWS Management Console search bar, enter Beanstalk, and click the Elastic Beanstalk result under Services:
2. This AWS account has no existing applications on AWS Elastic Beanstalk, so you are presented with the following welcome message:
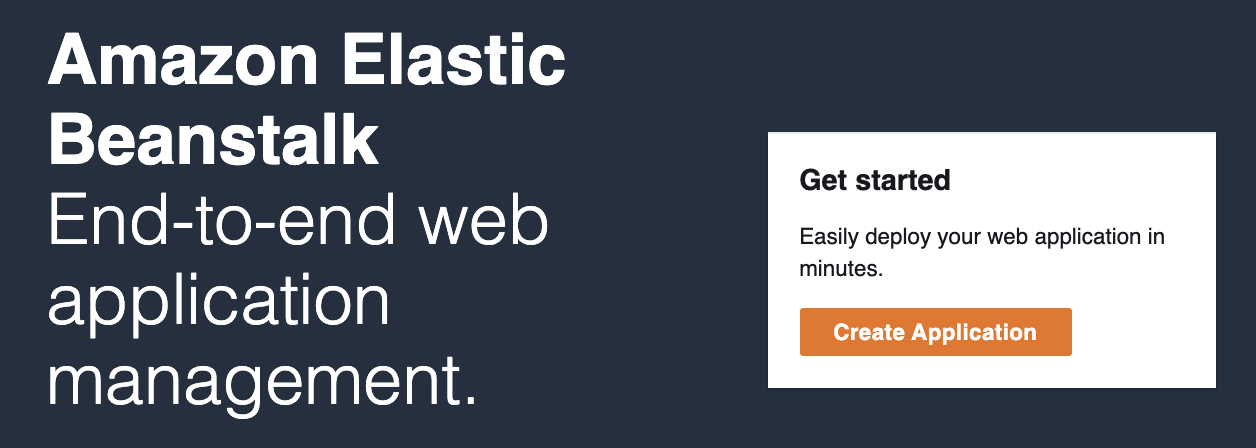
3. Click on Create Application to get started.
4. In the Create a web app form, configure the following values:
- Application Name: Enter My App
- Platform: Select Node.js
- Platform branch: Keep the default value
- Platform version: Keep the default recommended version
- Application code: Select Upload your code
- Source code origin:
- Version label: Enter my-app-v1
- Source code origin: Select Local file, then click the Choose file icon and select the v1.zip file you downloaded earlier
Warning: Do not proceed to the next item in these instructions until your file has been successfully uploaded as shown in the image above. Doing so will result in a console error message.
5. After your file has been successfully uploaded, click Configure more options:

6. Change the Configuration presets to Custom configuration:
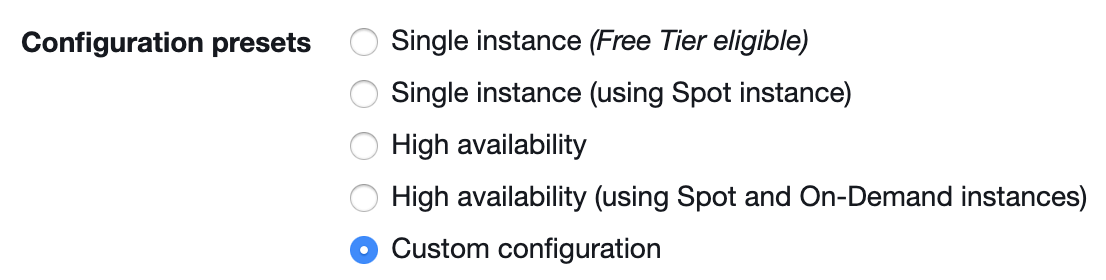
The Custom configuration preset configures load balancing and auto-scaling, as can be seen in the Capacity configuration card:
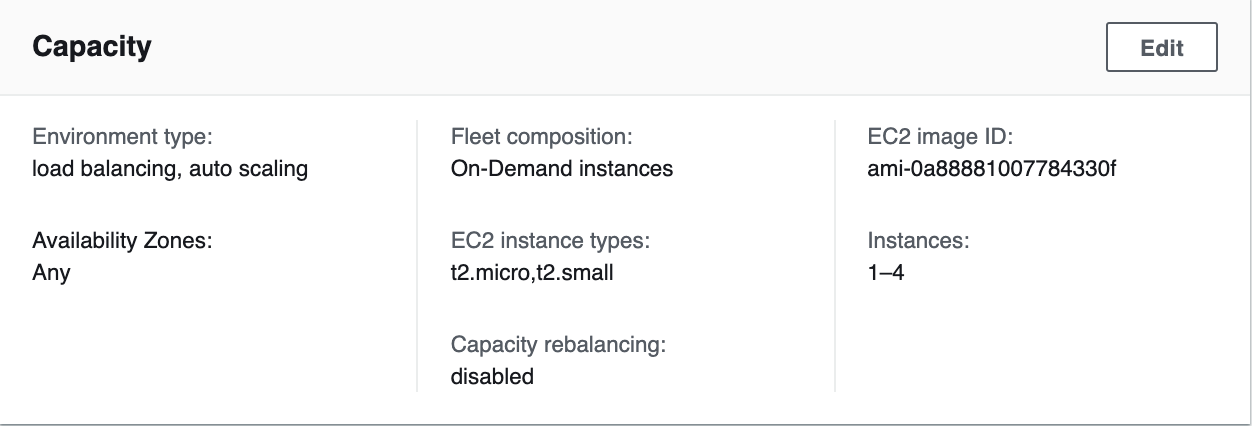
This capacity configuration is standard for applications held in production environments. However, you will need to do some configuration adjustments to some of the other application settings.
7. Click Edit on the Rolling updates and deployments card:

The default configuration deploys updates to the instances All at once. This causes downtime for the application which is not acceptable for production environments.
8. On the Modify rolling updates and deployments form, configure the following values and click Save. Accept default values when not specified:
- Application deployments:
- Deployment policy: Rolling
- Batch size: Enter 30.
The batch size determines how many instances an update is rolled out to at a time. 30% would roll the update out to the entire fleet in four rounds having around a 30% reduction in available capacity.
The Configuration updates section configures how AWS Elastic Beanstalk will handle deploying changes such as updating the size of your EC2 instances. This lab will not cover these updates, so keep the default settings for this card.
9. Back in the main application form, click Edit in the Network configuration card:
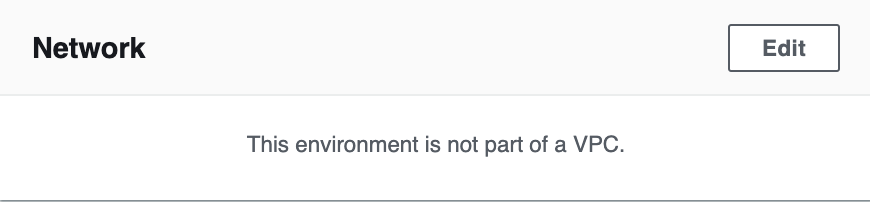
This lab environment created a separate VPC for the application. Using a separate VPC for the application will make it easier to manage.
10. On the Modify network form, configure the following values, then click Save. Accept the default values when not specified:
- VPC: Select the VPC with a CIDR block of 10.0.0.0/16. This will not be the default VPC.
- Load balancer settings:
- Load balancer subnets: Select the subnets with CIDR blocks 10.0.100.0/24 (us-west-2a)and 10.0.101.0/24 (us-west-2b). These are public subnets. The application load balancer requires at least two subnets in different availability zones
- Instance settings:
- Instance subnets: Select the subnet with CIDR block 10.0.1.0/24. This is a private subnet.
The network settings make the load balancer publicly accessible and do not assign public IP addresses to the EC2 instances running the application code. This means that your application is only accessible from the internet via the load balancer. Because there is only one availability zone us-west-2a for the instances running the application, the application could not tolerate an availability zone outage. You may want to use multiple availability zones to follow best practices, but for the sake of this lab, one is acceptable.
11. Back in the main application form, observe the Instances configuration card:
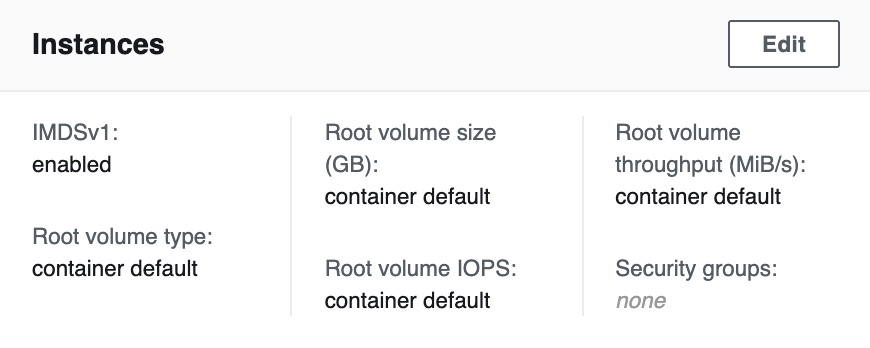
The Security groups setting has a value of none, which may lead you to assume the instances will not allow any inbound traffic. However, when you don’t choose an existing security group, Elastic Beanstalk will create new security groups automatically for both the instances and the load balancer allowing inbound traffic on port 80. Because of this, it is not a problem to leave the security group set to none.
12. Accept all the other default settings, and click Create App:

You are taken to the environment’s page where you can watch the progress of the environment creation process:
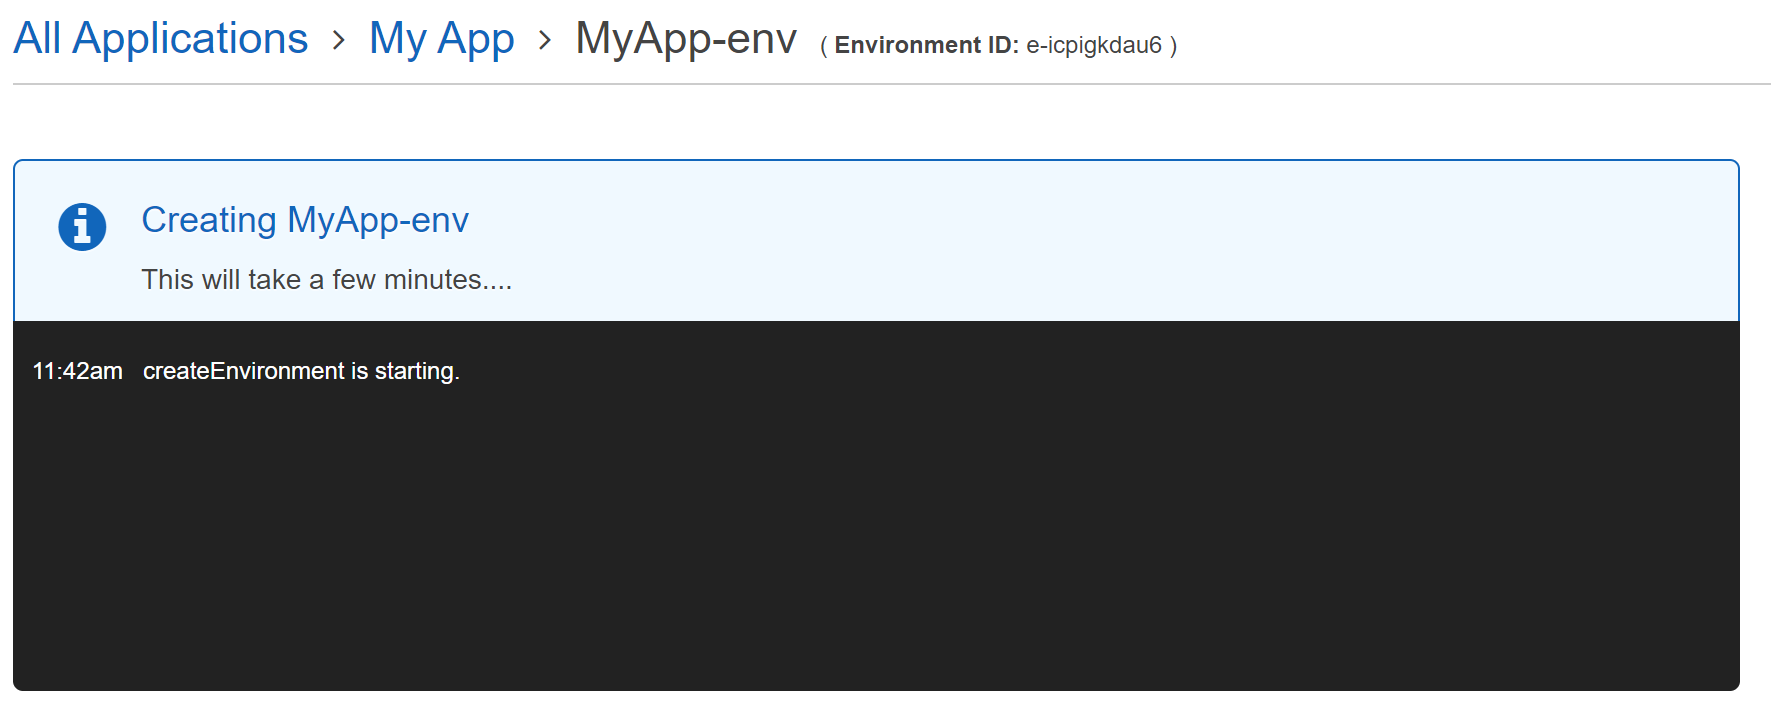
Wait for the environment to finish creating before proceeding on to the next lab step.
It will take up to 5 minutes and you will see the following view once it is complete:
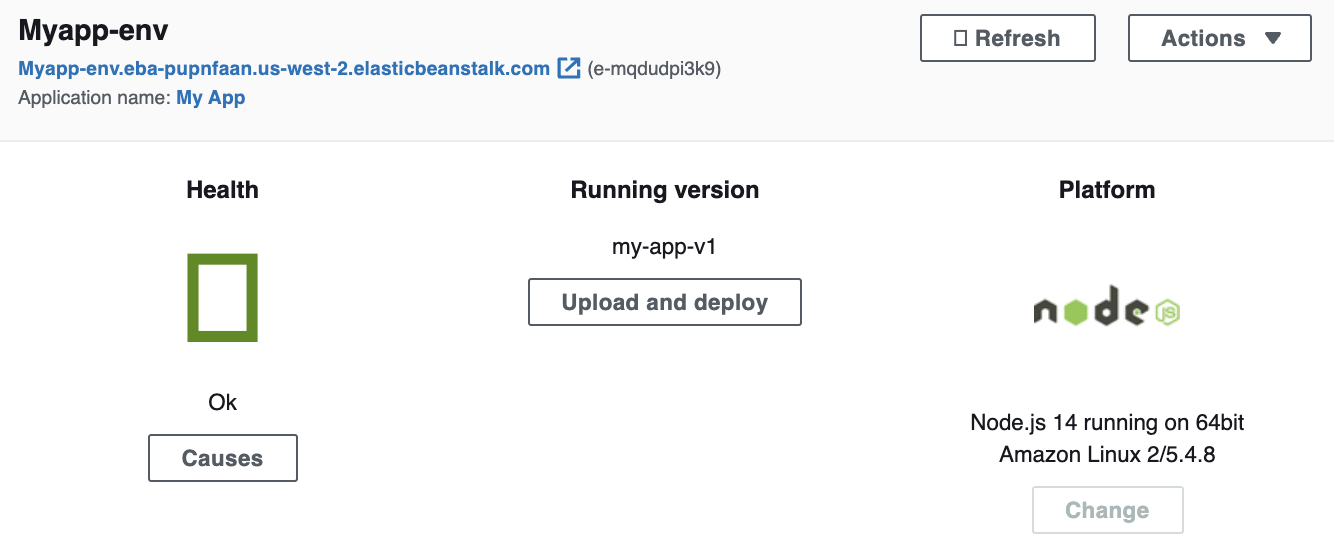
Note: You may need to refresh after seeing the Successfully launched environment: MyApp-env message to see the Overview view.
13. Click on the environment’s URL to view the application that’s been deployed:

14. Enter a few todo notes to see how the application works:
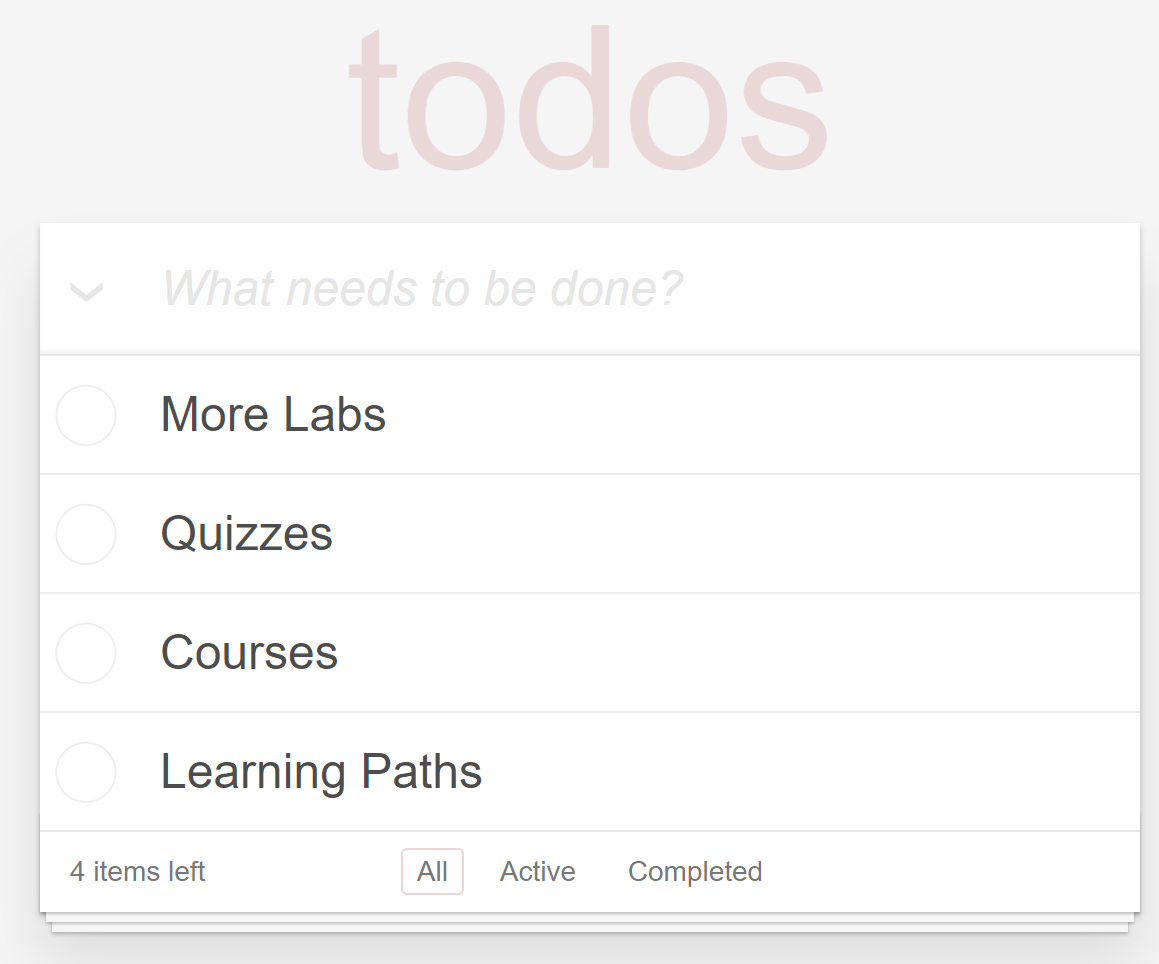
This lab uses the Angular.js Todomvc.com mini-app.
Summary
In this lab step, you created a Node.js application environment using AWS Elastic Beanstalk. The environment is configured for high availability and to perform rolling updates when new versions of the application are deployed. The application you deployed manages a to-do list.VALIDATION CHECKS2ChecksStart checkCreated the ElasticBeanstalk Application
Check that the ElasticBeanstalk application has been createdAWS Elastic BeanstalkCreated the ElasticBeanstalk Environment
Check that the ElasticBeanstalk environment has been createdAWS Elastic Beanstalk