Microsoft Dev Box supports any developer IDE, SDK, or tool that runs on Windows. Developers can target any development workload that can be built from Windows including desktop, mobile, IoT, and web applications. Microsoft Dev Box even supports building cross-platform apps thanks to Windows Subsystem for Linux and Windows Subsystem for Android. Remote access gives developers the flexibility to securely access dev boxes from any device, whether it’s Windows, MacOS, Android, iOS, or a web browser.
Tailor dev boxes to the needs of the team

How can you try out a Microsoft Dev Box? To participate in the Private Preview, customers can sign up at http://aka.ms/devbox-signup. You can sign up for the waiting list to evaluate the private preview at http://aka.ms/devbox-signup and to see demos of the service watch the Build session, Delivering developer velocity through the entire engineering system.
Configure the Microsoft Dev Box service
Prerequisites
To complete this quick start, make sure that you have:
- An Azure account with an active subscription. Create an account for free.
- Owner or Contributor permissions on an Azure Subscription or a specific resource group.
- Network Contributor permissions on an existing virtual network (owner or contributor) or permission to create a new virtual network and subnet.
Create a dev center
The following steps show you how to create and configure a dev center.
- Sign in to the Azure portal.
- In the search box, type Dev centers and then select Dev centers from the list.
- On the dev centers page, select +Create.

- On the Create a dev center page, on the Basics tab, enter the following values:NameValueSubscriptionSelect the subscription in which you want to create the dev center.Resource groupSelect an existing resource group or select Create new, and enter a name for the resource group.NameEnter a name for your dev center.LocationSelect the location/region you want the dev center to be created in.
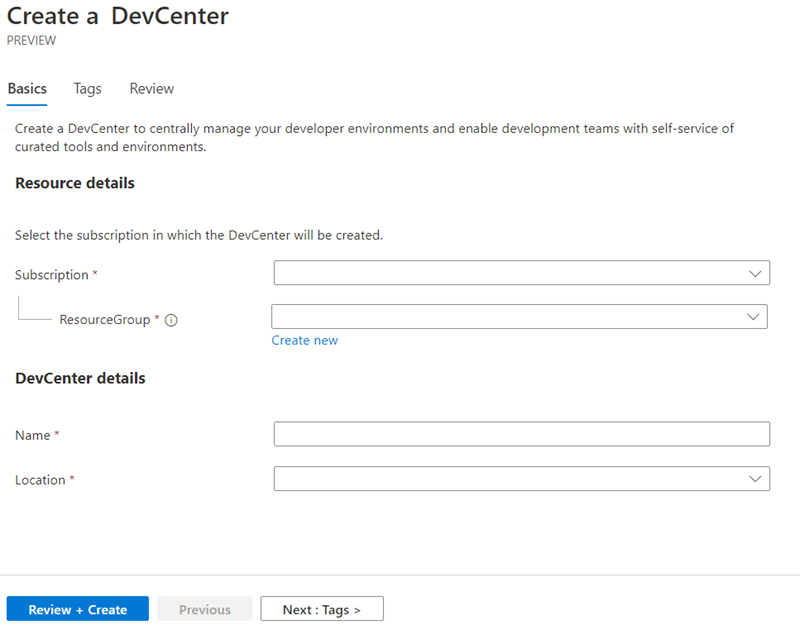 The currently supported Azure locations with capacity are listed here: Microsoft Dev Box.
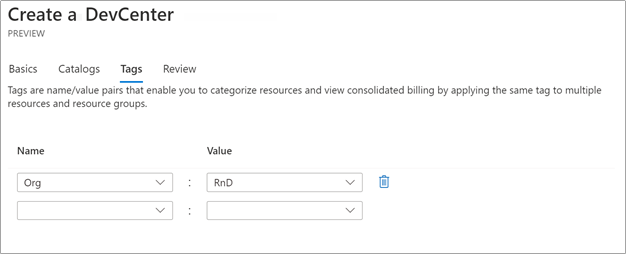
 - [Optional] On the Tags tab, enter a name and value pair that you want to assign.
- Select Review + Create.
- On the Review tab, select Create.
- You can check on the progress of the dev center creation from any page in the Azure portal by opening the notifications pane.
Create a network connection
Network connections determine the region into which dev boxes are deployed and allow them to be connected to your existing virtual networks. The following steps show you how to create and configure a network connection in Microsoft Dev Box.
If your organization routes egress traffic through a firewall, you need to open certain ports to allow the Dev Box service to function. For more information, see Network requirements.
- Sign in to the Azure portal.
- In the search box, type Network connections and then select Network connections from the list.
- On the Network Connections page, select +Create.

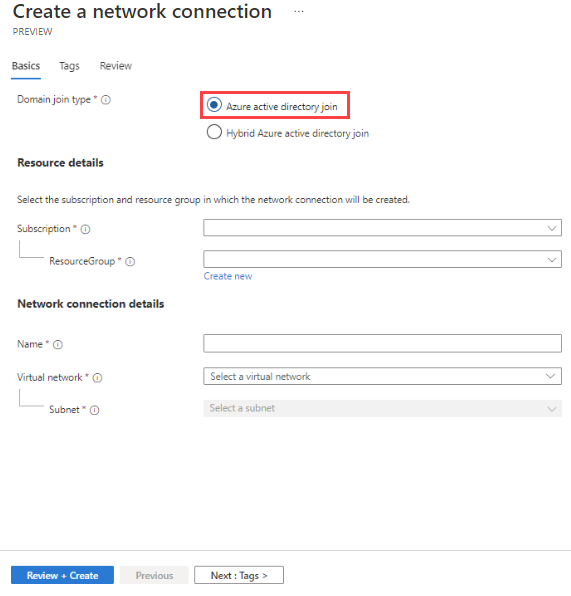
- Follow the steps on the appropriate tab to create your network connection.On the Create a network connection page, on the Basics tab, enter the following values:NameValueDomain join typeSelect Azure active directory join.SubscriptionSelect the subscription in which you want to create the network connection.Resource groupSelect an existing resource group or select Create new, and enter a name for the resource group.NameEnter a descriptive name for your network connection.Virtual networkSelect the virtual network you want the network connection to use.SubnetSelect the subnet you want the network connection to use.
- Select Review + Create.
- On the Review tab, select Create.
- When the deployment is complete, select Go to resource. You’ll see the Network Connection overview page.
Attach network connection to dev center
You need to attach a network connection to a dev center before it can be used in projects to create dev box pools.
- In the Azure portal, in the search box, type Dev centers and then select Dev centers from the list.
- Select the dev center you created and select Networking.
- Select + Add.
- In the Add network connection pane, select the network connection you created earlier, and then select Add.
Refer- Microsoft Dev Box